Table of Contents
This module is a step by step demonstration of an actual installation of CentOS 7.
We start by downloading an image from the internet and install CentOS 7 as a virtual machine in Virtualbox. We will also do some basic configuration of this new machine like setting an ip address and fixing a hostname.
This procedure should be very similar for other versions of CentOS, and also for distributions like RHEL (Red Hat Enterprise Linux) or Fedora. This procedure can also be helpful if you are using another virtualization solution.
This demonstration uses a laptop computer with Virtualbox to install CentOS 7 as a virtual machine. The first task is to download an .iso image of CentOS 7.
The CentOS 7 website looks like this today (November 2014). They change the look regularly, so it may look different when you visit it.
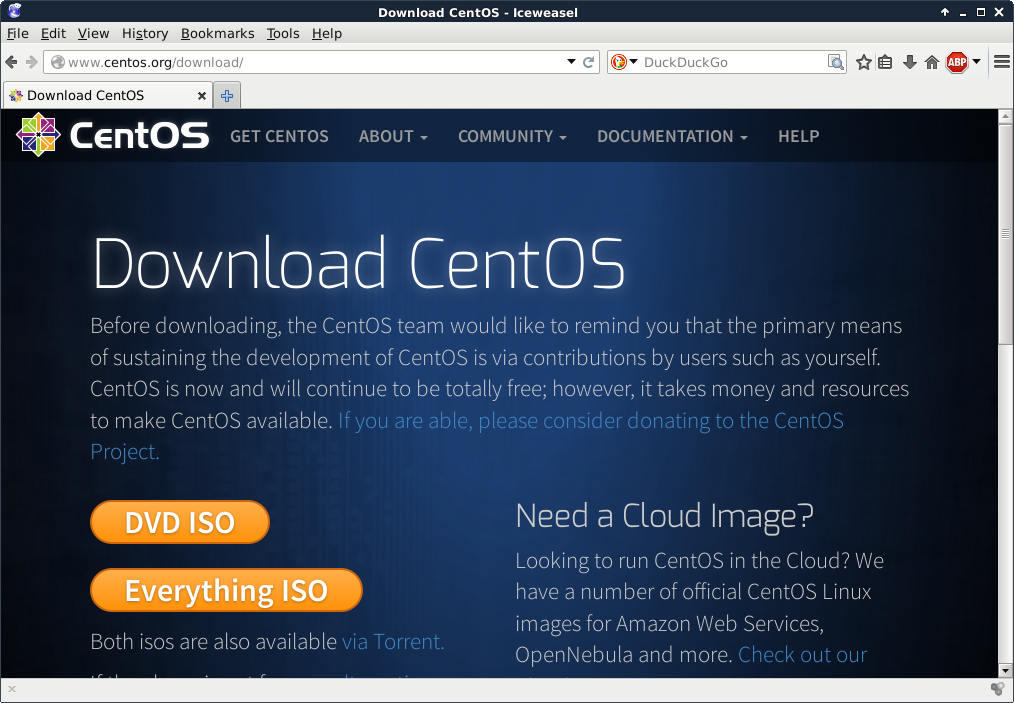
You can download a full DVD, which allows for an off line installation of a graphical CentOS 7 desktop. You can select this because it should be easy and complete, and should get you started with a working CentOS 7 virtual machine.
But I clicked instead on 'alternative downloads', selected CentOS 7 and x86_64 and ended up on a mirror list. Each mirror is a server that contains copies of CentOS 7 media. I selected a Belgian mirror because I currently am in Belgium.
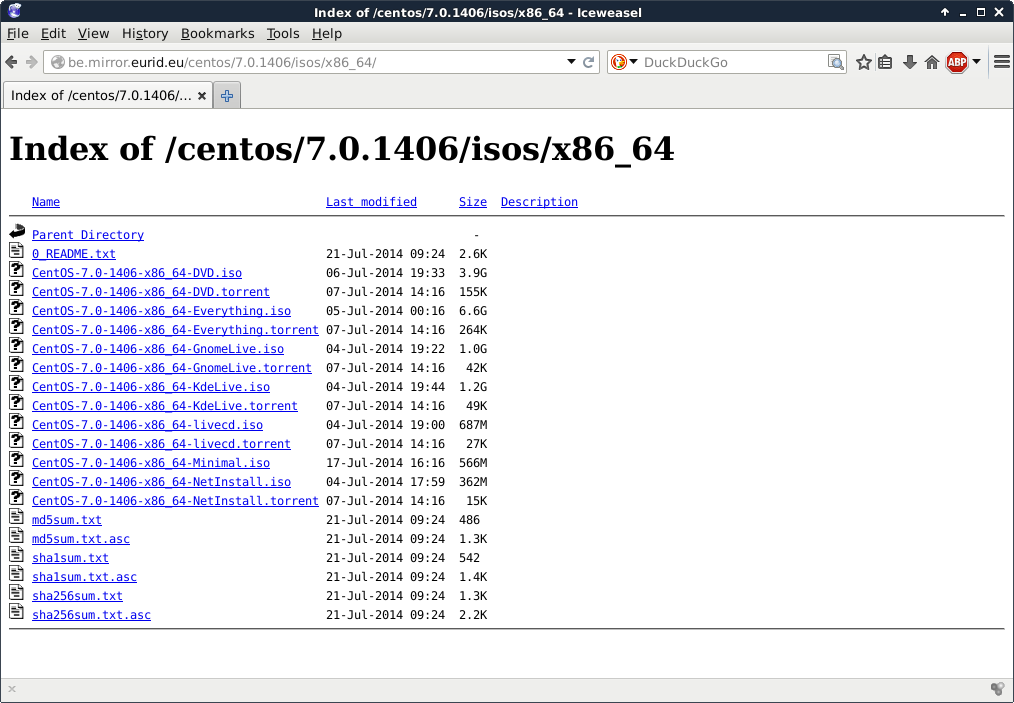
There is again the option for full DVD's and more. This demonstration will use the minimal .iso file, because it is much smaller in size. The download takes a couple of minutes.

Verify the size of the file after download to make sure it is complete. Probably a right click on the file and selecting 'properties' (if you use Windows or Mac OSX).
I use Linux on the laptop already:
paul@debian8:~$ ls -lh CentOS-7.0-1406-x86_64-Minimal.iso
-rw-r--r-- 1 paul paul 566M Nov  1 14:45 CentOS-7.0-1406-x86_64-Minimal.iso
Do not worry if you do no understand the above command. Just try to make sure that the size of this file is the same as the size that is mentioned on the CentOS 7 website.
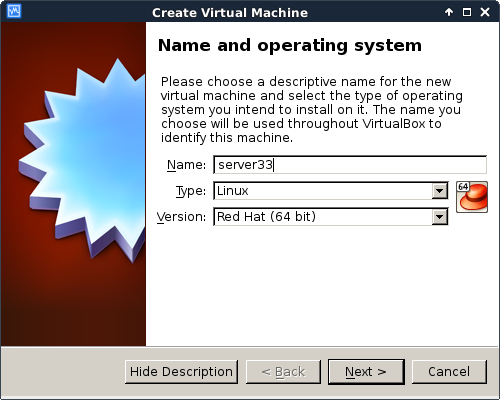
This screenshot shows up when I start Virtualbox. I already have four virtual machines, you might have none.

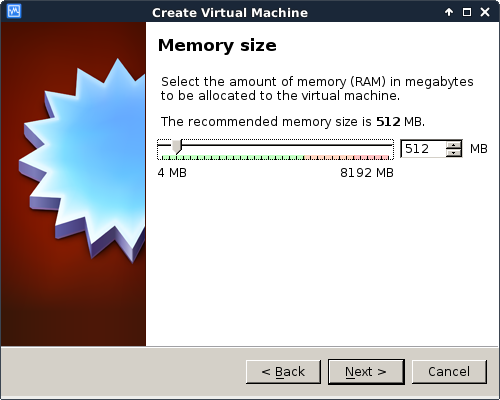
Below are the steps for creating a new virtual machine. Start by clicking New and give your machine a name (I chose server33). Click Next.
A Linux computer without graphical interface will run fine on half a gigabyte of RAM.
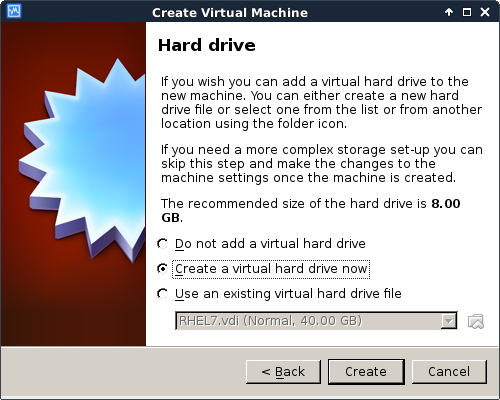
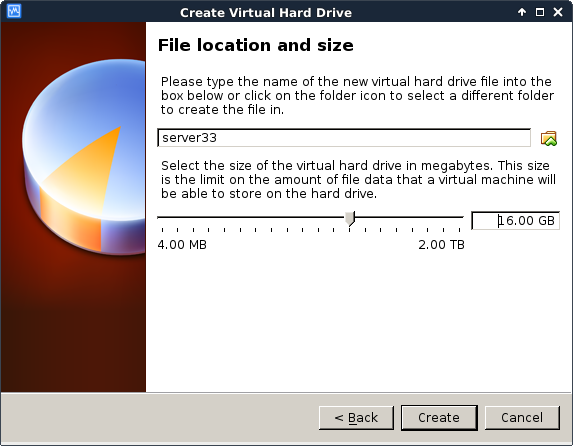
A Linux virtual machine will need a virtual hard drive.
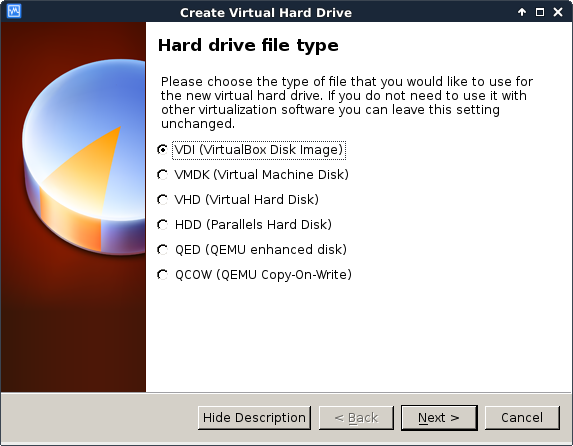
Any format will do for our purpose, so I left the default vdi.
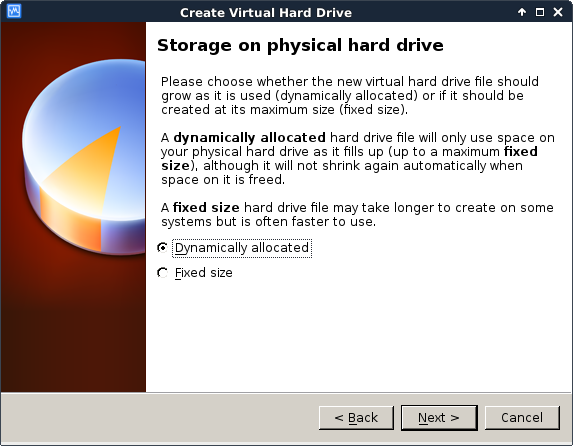
The default dynamically allocated type will save disk space (until we fill the virtual disk up to 100 percent). It makes the virtual machine a bit slower than fixed size, but the fixed size speed improvement is not worth it for our purpose.
The name of the virtual disk file on the host computer will be server33.vdi in my case (I left it default and it uses the vm name). Also 16 GB should be enough to practice Linux. The file will stay much smaller than 16GB, unless you copy a lot of files to the virtual machine.
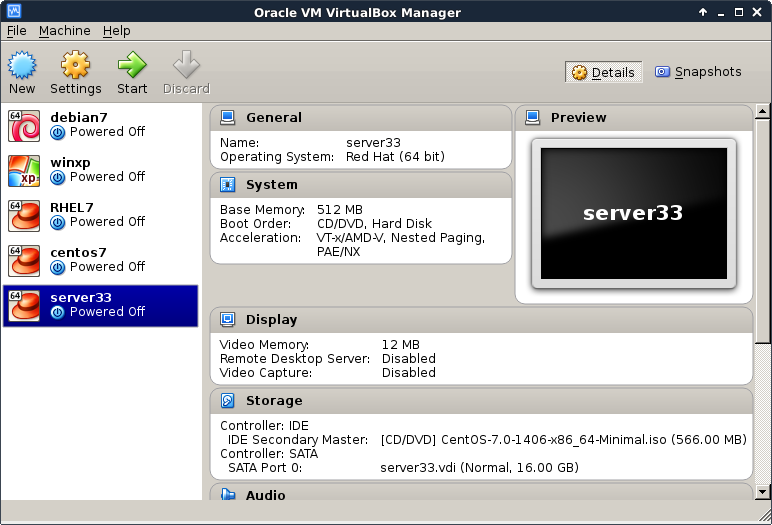
You should now be back to the start screen of Virtualbox. If all went well, then you should see the machine you just created in the list.
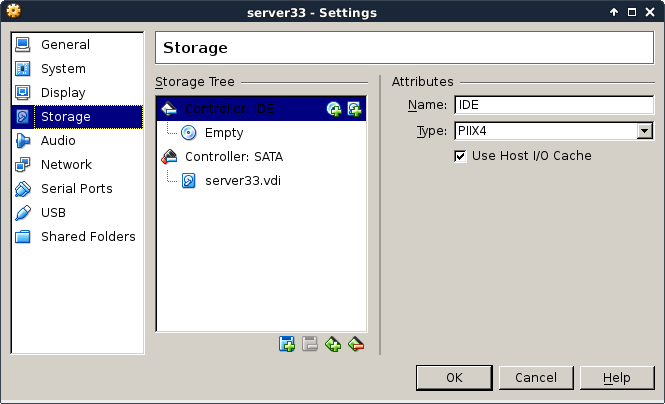
After finishing the setup, we go into the Settings of our virtual machine and attach the .iso file we downloaded before. Below is the default screenshot.
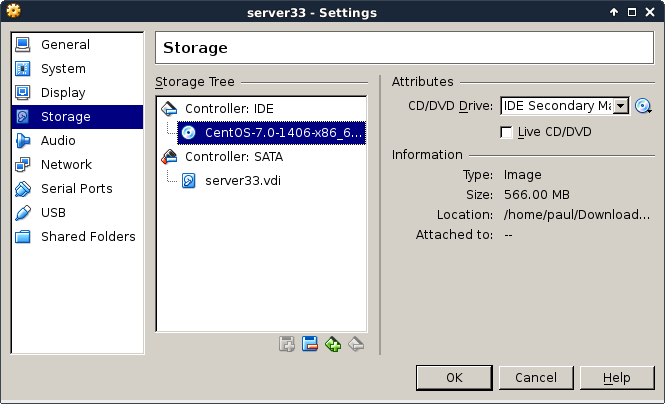
This is a screenshot with the .iso file properly attached.
The screenshots below will show every step from starting the virtual machine for the first time (with the .iso file attached) until the first logon.
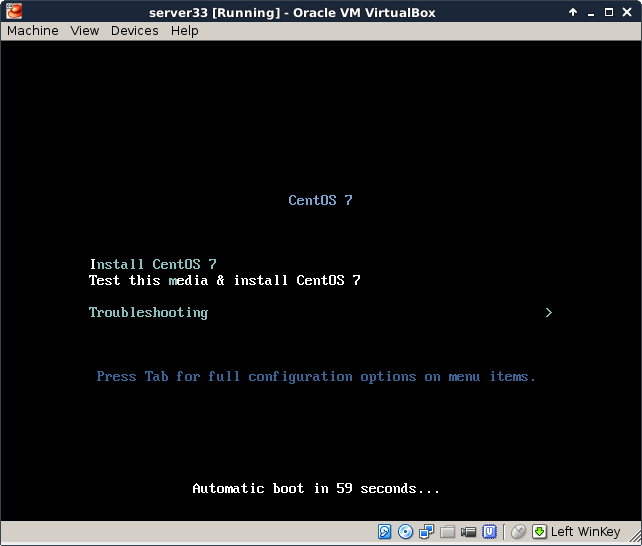
You should see this when booting, otherwise verify the attachment of the .iso file form the previous steps. Select Test this media and install CentOS 7.
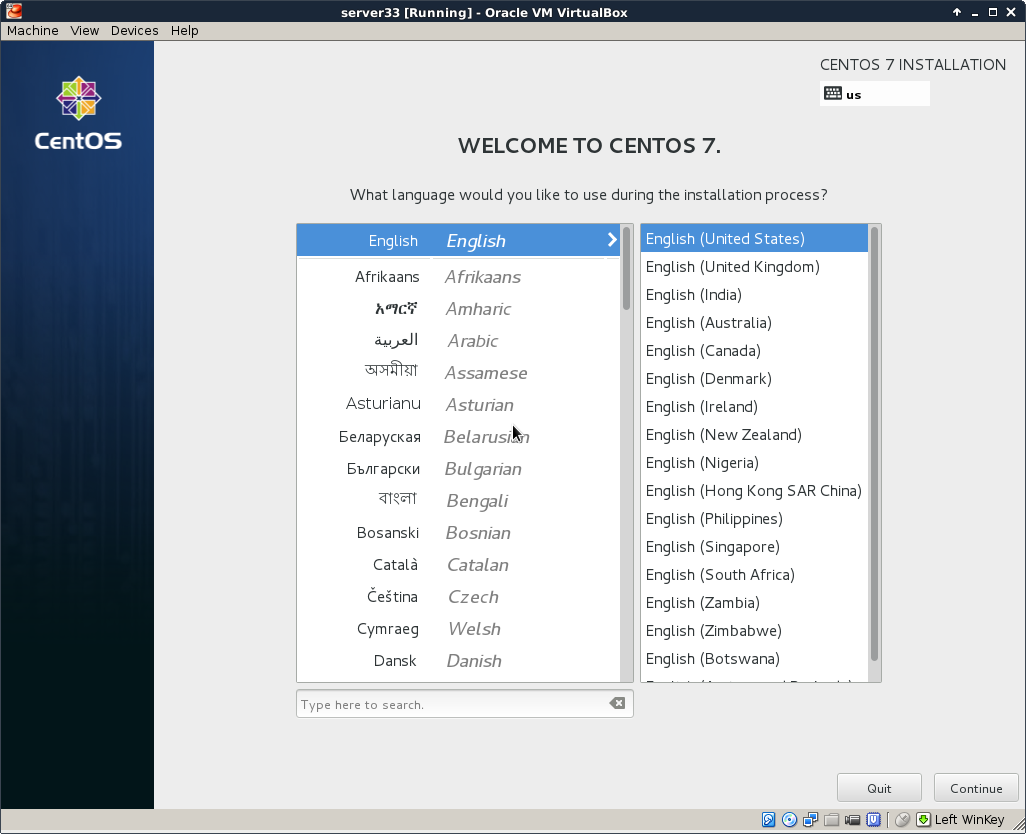
Carefully select the language in which you want your CentOS. I always install operating systems in English, even though my native language is not English.
Also select the right keyboard, mine is a US qwerty, but yours may be different.
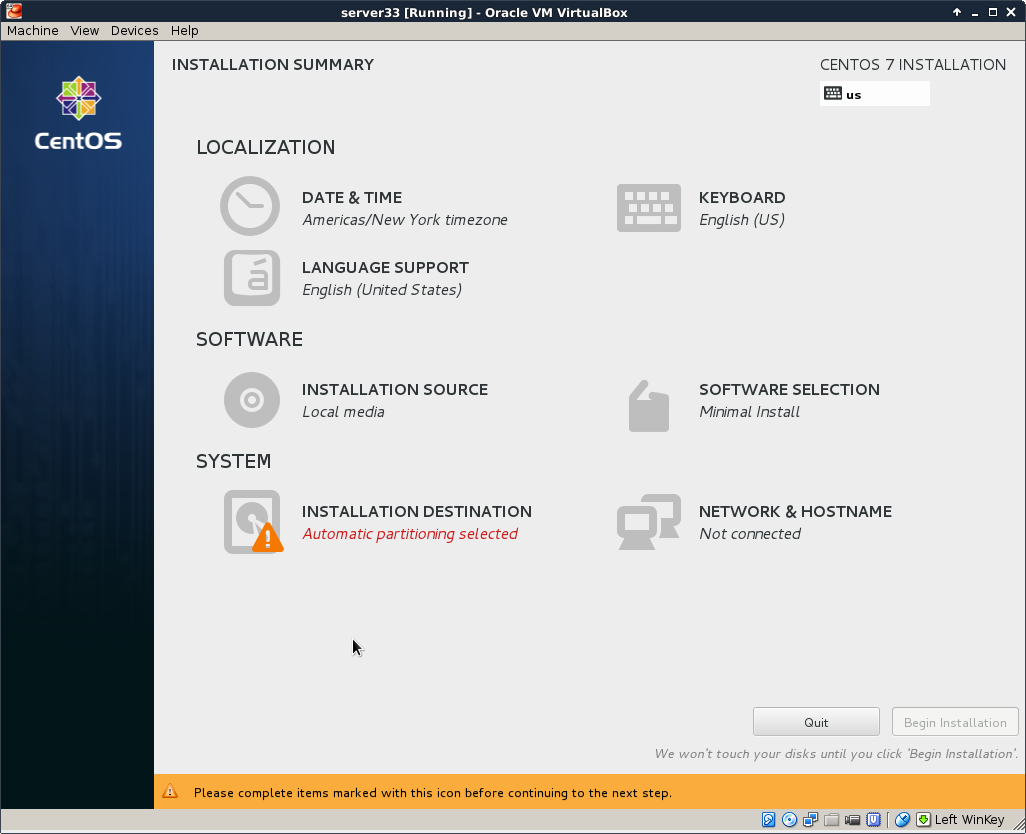
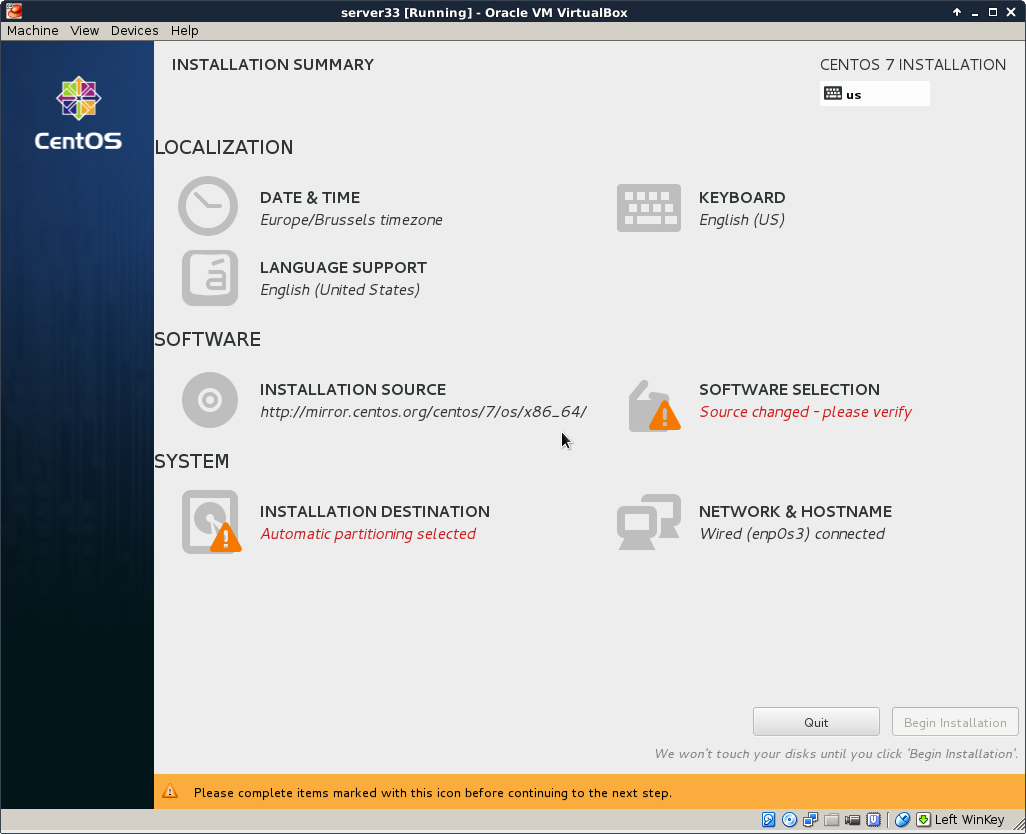
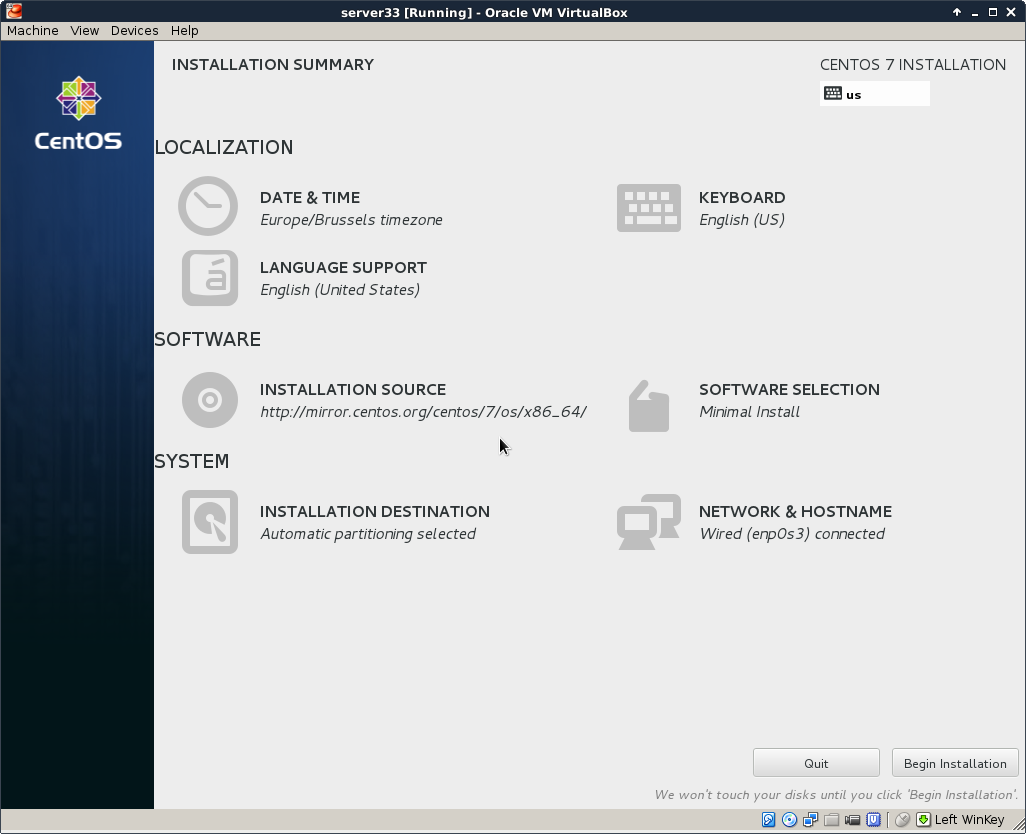
You should arrive at a summary page (with one or more warnings).
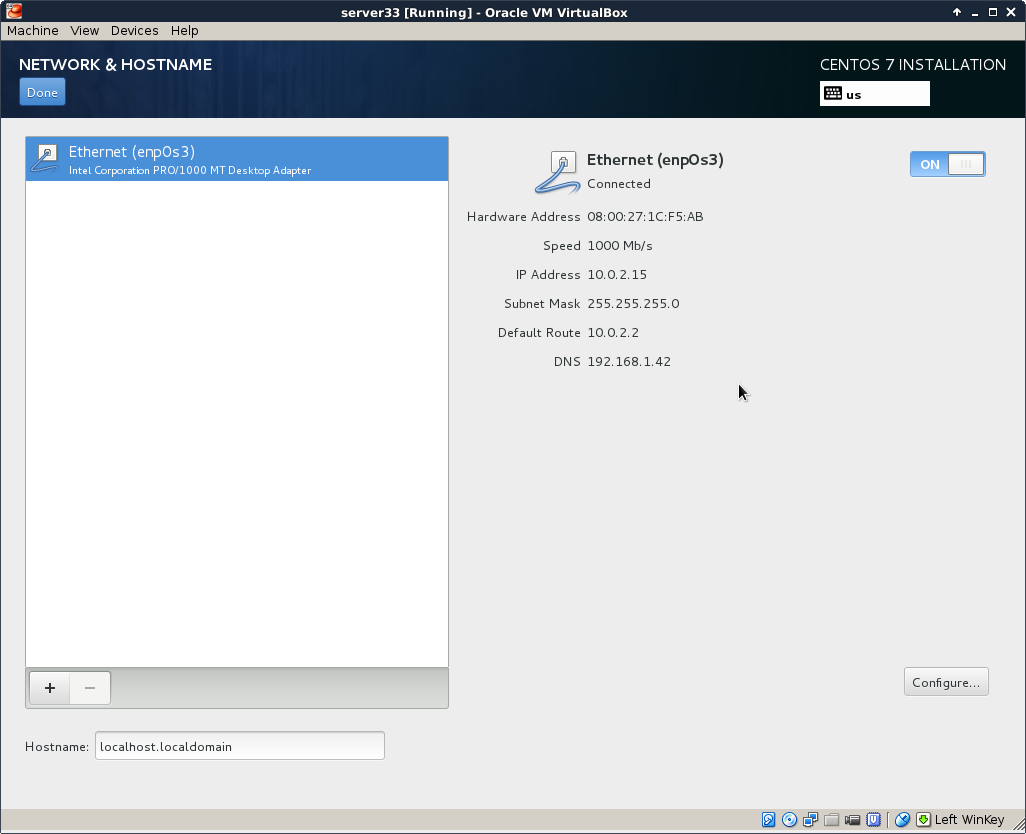
Start by configuring the network. During this demonstration I had a DHCP server running at 192.168.1.42, yours is probably different. Ask someone (a network administator ?) for help if this step fails.
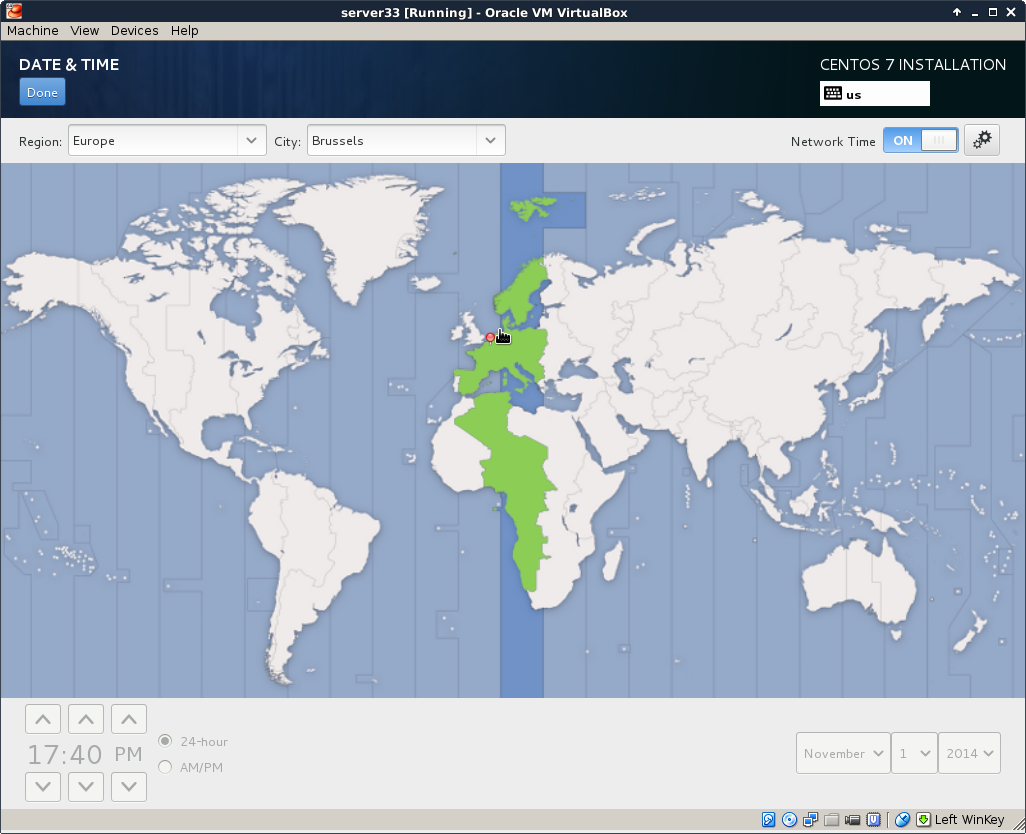
Select your time zone, and activate ntp.
Choose a mirror that is close to you. If you can't find a local mirror, then you can copy the one from this screenshot (it is a general CentOS mirror).
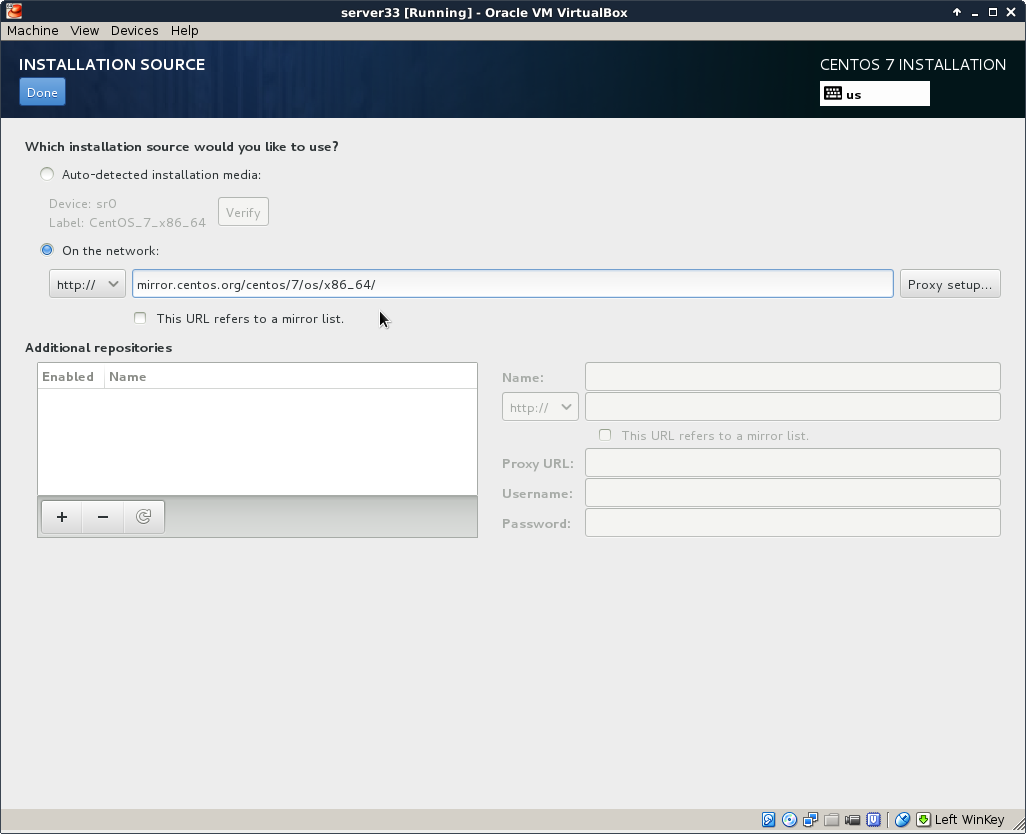
It can take a couple of seconds before the mirror is verified.
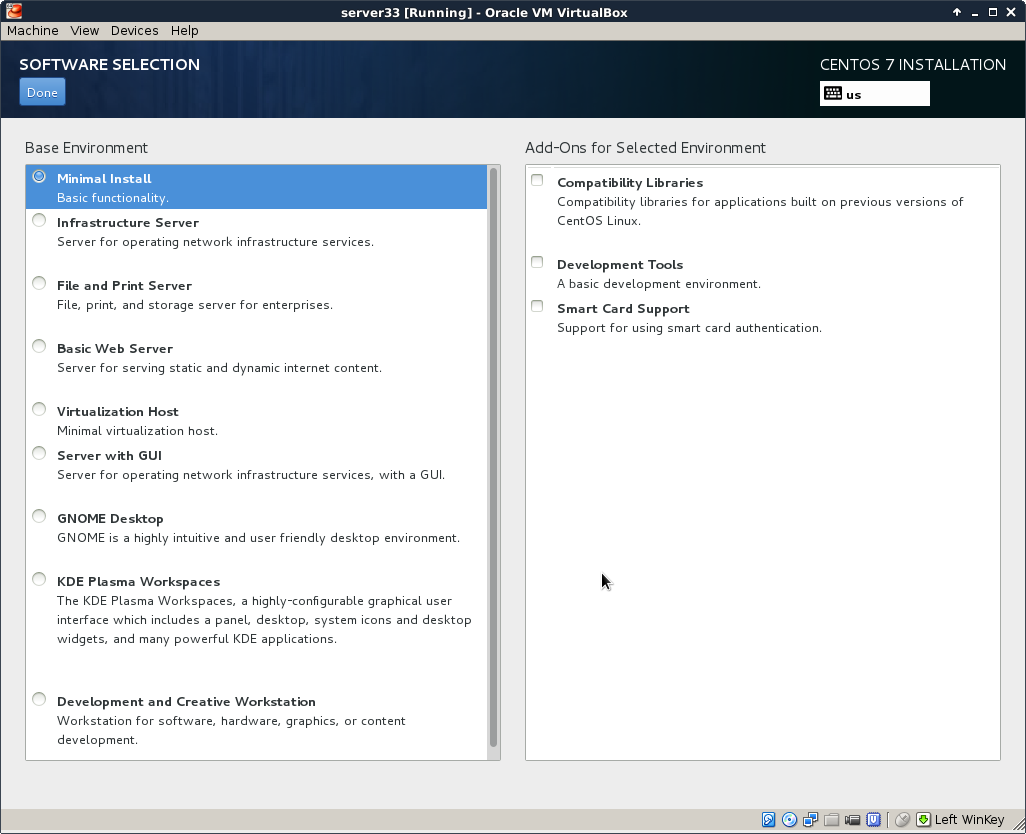
I did not select any software here (because I want to show it all in this training).
After configuring network, location, software and all, you should be back on this page. Make sure there are no warnings anymore (and that you made the correct choice everywhere).
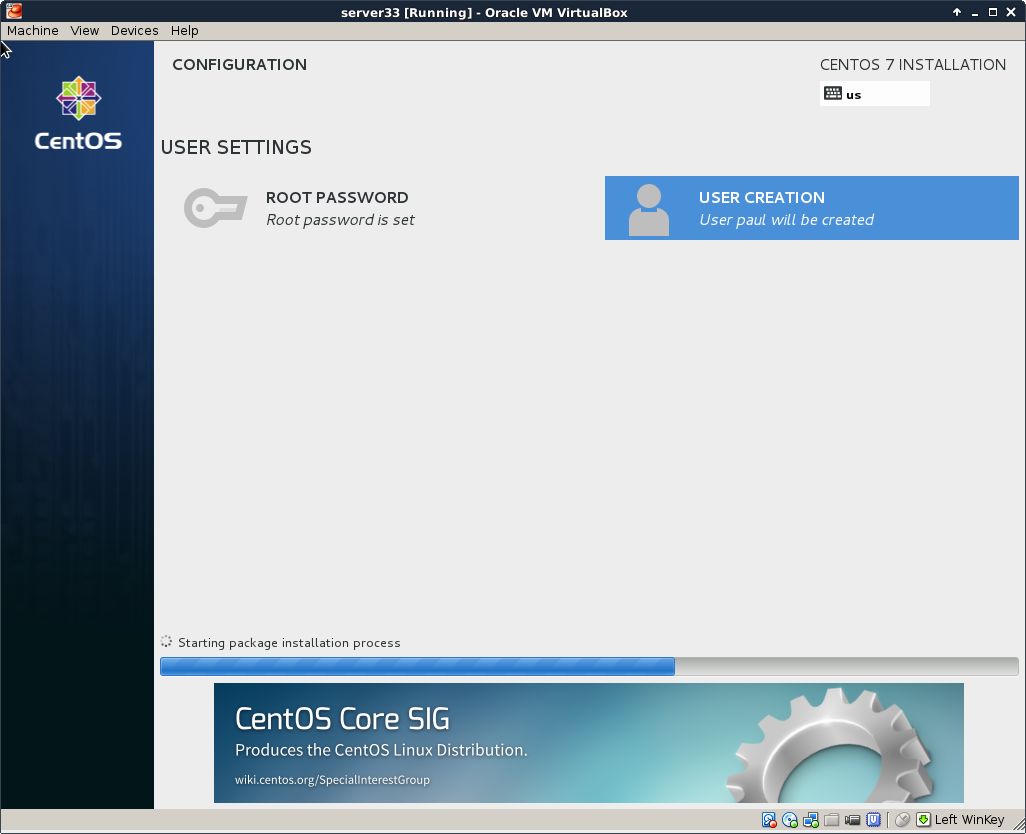
You can enter a root password and create a user account while the installation is downloading from the internet. This is the longest step, it can take several minutes (or up to an hour if you have a slow internet connection).
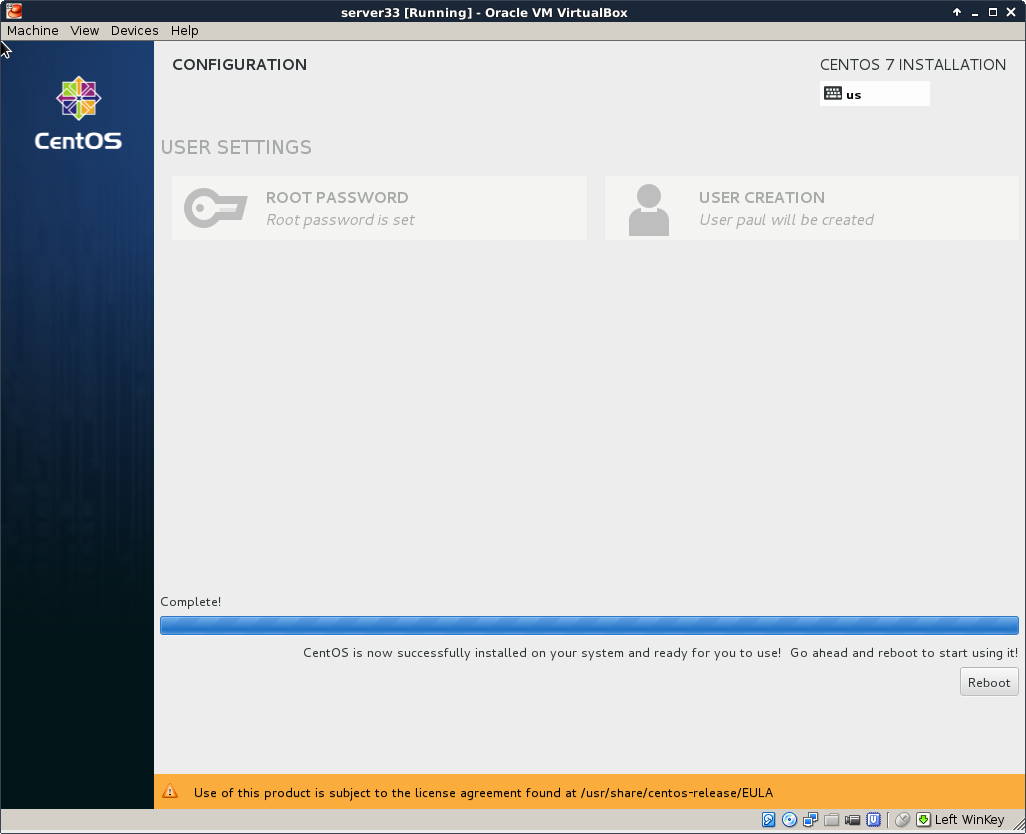
If you see this, then the installation was successful.
Time to reboot the computer and start CentOS 7 for the first time.
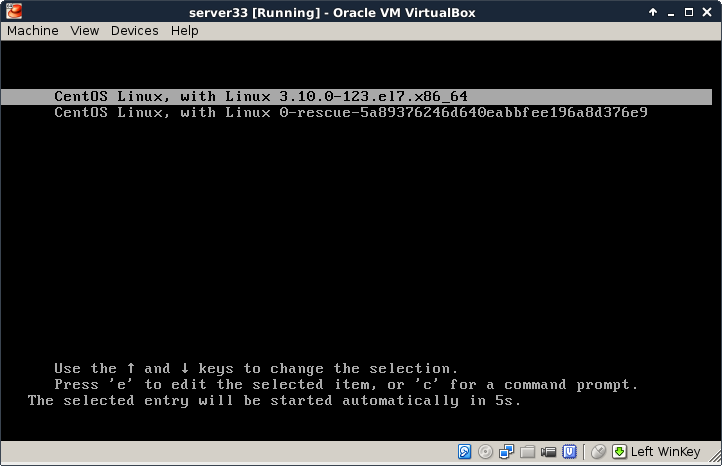
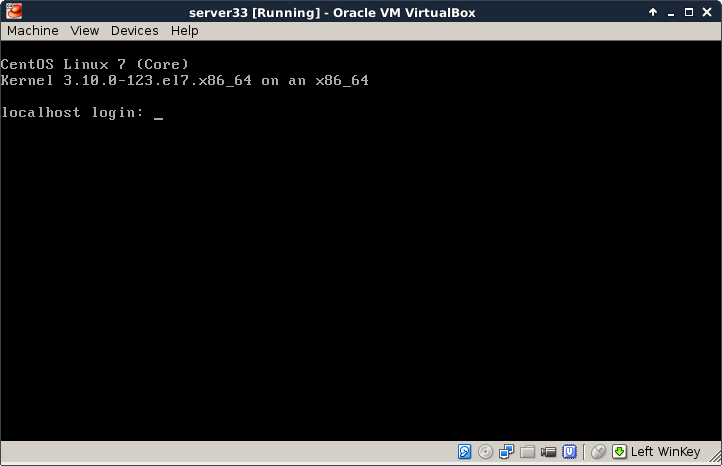
This screen will appear briefly when the virtual machines starts. You don't have to do anything.
After a couple of seconds, you should see a logon screen. This is called a tty or a getty. Here you can type root as username. The login process will then ask your password (nothing will appear on screen when you type your password).
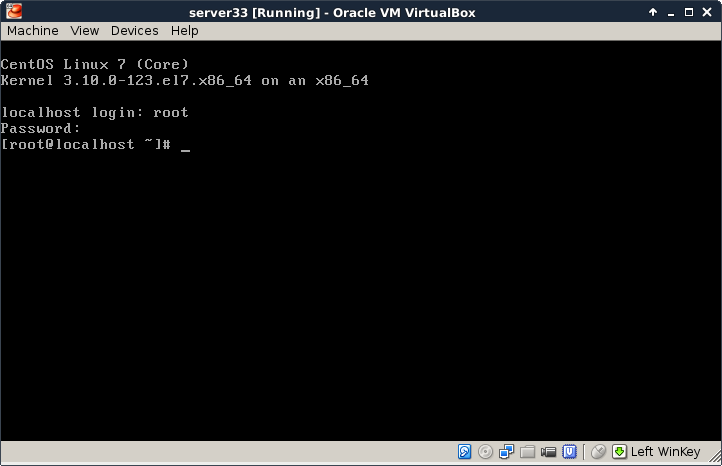
And this is what it looks like after logon. You are logged on to your own Linux machine, very good.
All subsequent screenshots will be text only, no images anymore.
For example this screenshot shows three commands being typed on my new CentOS 7 install.
[root@localhost ~]# who am i
root     pts/0        2014-11-01 22:14
[root@localhost ~]# hostname
localhost.localdomain
[root@localhost ~]# date
Sat Nov  1 22:14:37 CET 2014
When using ssh the same commands will give this screenshot:
[root@localhost ~]# who am i
root     pts/0        2014-11-01 21:00 (192.168.1.35)
[root@localhost ~]# hostname
localhost.localdomain
[root@localhost ~]# date
Sat Nov  1 22:10:04 CET 2014
[root@localhost ~]#
If the last part is a bit too fast, take a look at the next topic CentOS 7 first logon.
All you have to log on, after finishing the installation, is this screen in Virtualbox.
This is workable to learn Linux, and you will be able to practice a lot. But there are more ways to access your virtual machine, the next chapters discuss some of these and will also introduce some basic system configuration.
Setting the hostname is a simple as changing the /etc/hostname file. As you can see here, it is set to localhost.localdomain by default.
[root@localhost ~]# cat /etc/hostname
localhost.localdomain
You could do echo server33.netsec.local > /etc/hostname followed by a reboot. But there is also the new CentOS 7 way of setting a new hostname.
[root@localhost ~]# nmtuiThe above command will give you a menu to choose from with a set system hostname option. Using this nmtui option will edit the /etc/hostname file for you.
[root@localhost ~]# cat /etc/hostname
server33.netsec.local
[root@localhost ~]# hostname
server33.netsec.local
[root@localhost ~]# dnsdomainname
netsec.local
For some reason the documentation on the centos.org and docs.redhat.com websites tell you to also execute this command:
[root@localhost ~]# systemctl restart systemd-hostnamedBy default Virtualbox will connect your virtual machine over a nat interface. This will show up as a 10.0.2.15 (or similar).
[root@server33 ~]# ip a
1: lo: <LOOPBACK,UP,LOWER_UP> mtu 65536 qdisc noqueue state UNKNOWN
    link/loopback 00:00:00:00:00:00 brd 00:00:00:00:00:00
    inet 127.0.0.1/8 scope host lo
       valid_lft forever preferred_lft forever
    inet6 ::1/128 scope host
       valid_lft forever preferred_lft forever
2: enp0s3: <BROADCAST,MULTICAST,UP,LOWER_UP> mtu 1500 qdisc pfifo_fast s\
tate UP qlen 1000
    link/ether 08:00:27:1c:f5:ab brd ff:ff:ff:ff:ff:ff
    inet 10.0.2.15/24 brd 10.0.2.255 scope global dynamic enp0s3
       valid_lft 86399sec preferred_lft 86399sec
    inet6 fe80::a00:27ff:fe1c:f5ab/64 scope link
       valid_lft forever preferred_lft forever
You can change this to bridge (over your wi-fi or over the ethernet cable) and thus make it appear as if your virtual machine is directly on your local network (receiving an ip address from your real dhcp server).
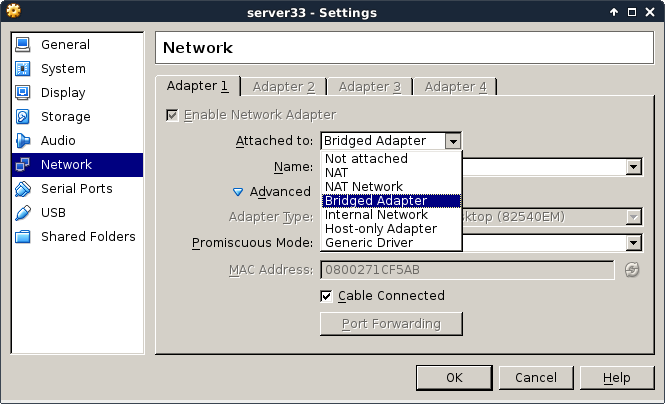
You can make this change while the vm is running, provided that you execute this command:
[root@server33 ~]# systemctl restart network
[root@server33 ~]# ip a s dev enp0s3
2: enp0s3: <BROADCAST,MULTICAST,UP,LOWER_UP> mtu 1500 qdisc pfifo_fast s\
tate UP qlen 1000
    link/ether 08:00:27:1c:f5:ab brd ff:ff:ff:ff:ff:ff
    inet 192.168.1.110/24 brd 192.168.1.255 scope global dynamic enp0s3
       valid_lft 7199sec preferred_lft 7199sec
    inet6 fe80::a00:27ff:fe1c:f5ab/64 scope link
       valid_lft forever preferred_lft forever
[root@server33 ~]#
The new way of changing network configuration is through the nmtui tool. If you want to manually play with the files in /etc/sysconfig/network-scripts then you will first need to verify (and disable) NetworkManager on that interface.
Verify whether an interface is controlled by NetworkManager using the nmcli command (connected means managed bu NM).
[root@server33 ~]# nmcli dev status
DEVICE  TYPE      STATE      CONNECTION
enp0s3  ethernet  connected  enp0s3
lo      loopback  unmanaged  --
Disable NetworkManager on an interface (enp0s3 in this case):
echo 'NM_CONTROLLED=no' >> /etc/sysconfig/network-scripts/ifcfg-enp0s3
You can restart the network without a reboot like this:
[root@server33 ~]# systemctl restart networkAlso, forget ifconfig and instead use ip a.
[root@server33 ~]# ip a s dev enp0s3 | grep inet
    inet 192.168.1.110/24 brd 192.168.1.255 scope global dynamic enp0s3
    inet6 fe80::a00:27ff:fe1c:f5ab/64 scope link
[root@server33 ~]#This example shows how to add one static ip address to your computer.
[root@server33 ~]# nmtui edit enp0s3In this interface leave the IPv4 configuration to automatic, and add an ip address just below.
          IPv4 CONFIGURATION <Automatic>                         <Hide>
          Addresses 10.104.33.32/16__________ <Remove>
Execute this command after exiting nmtui.
[root@server33 ~]# systemctl restart networkAnd verify with ip (not with ifconfig):
[root@server33 ~]# ip a s dev enp0s3 | grep inet
    inet 192.168.1.110/24 brd 192.168.1.255 scope global dynamic enp0s3
    inet 10.104.33.32/16 brd 10.104.255.255 scope global enp0s3
    inet6 fe80::a00:27ff:fe1c:f5ab/64 scope link
[root@server33 ~]#Even with a network install, CentOS 7 did not install the latest version of some packages. Luckily there is only one command to run (as root). This can take a while.
[root@server33 ~]# yum update
Loaded plugins: fastestmirror
Loading mirror speeds from cached hostfile
 * base: centos.weepeetelecom.be
 * extras: centos.weepeetelecom.be
 * updates: centos.weepeetelecom.be
Resolving Dependencies
--> Running transaction check
---> Package NetworkManager.x86_64 1:0.9.9.1-13.git20140326.4dba720.el7 \
will be updated
... (output truncated)
You can also use yum to install one or more packages. Do not forget to run yum update from time to time.
[root@server33 ~]# yum update -y && yum install vim -y
Loaded plugins: fastestmirror
Loading mirror speeds from cached hostfile
 * base: centos.weepeetelecom.be
... (output truncated)
Refer to the package management chapter for more information on installing and removing packages.
You can now open a terminal on Linux or MacOSX and use ssh to log on to your virtual machine.
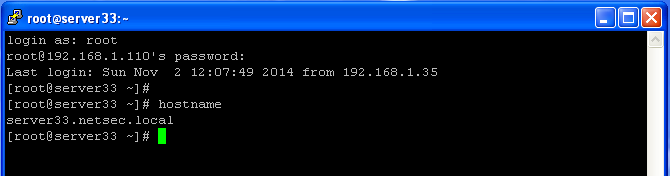
paul@debian8:~$ ssh root@192.168.1.110
root@192.168.1.110's password:
Last login: Sun Nov  2 11:53:57 2014
[root@server33 ~]# hostname
server33.netsec.local
[root@server33 ~]#
There is no ssh installed on MS Windows, but you can download putty.exe from http://www.chiark.greenend.org.uk/~sgtatham/putty/download.html (just Google it).
Use putty.exe as shown in this screenshot (I saved the ip address by giving it a name 'server33' and presing the 'save' button).
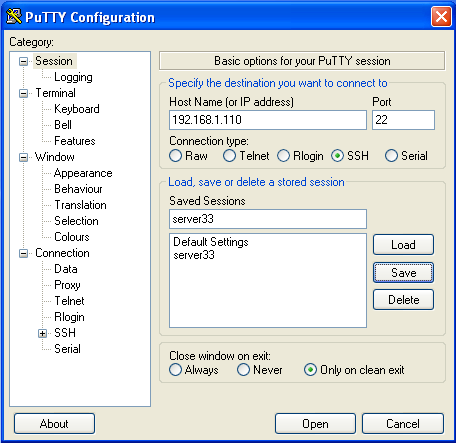
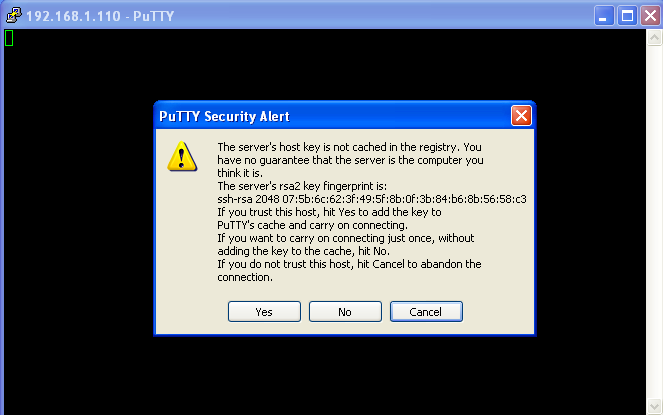
The first time you will get a message about keys, accept this (this is explained in the ssh chapter).
Enter your userid (or root) and the correct password (nothing will appear on the screen when typing a password).